

Contents
Overview
Wailing Caverns is one of Classic’s more disorienting early dungeons — a sprawling, cave-like layout with two branching paths that converge before the final escort encounter. It’s Horde-favored simply due to proximity, but fully open to both factions, and it’s a genuinely good source of gear and gold for the level range. The layout itself is the real challenge here more than any individual boss — new groups regularly get turned around before they’ve even reached the first real fight.
Two of the nine bosses here are entirely optional — Skum and Kresh can both be skipped without blocking your progress. Verdan the Everliving is also skippable, but killing him unlocks a shortcut back to the entrance, which is worth the fight on its own.
Location and Level Range
The entrance is in The Barrens, southwest of the Crossroads, at the Lushwater Oasis. Follow the cave down to the Cavern of Mists to find the actual dungeon entrance. It’s built for roughly levels 15-25, with most groups running it comfortably in the higher end of that range. The dungeon also carries a full quest chain tied to it — five neutral quests available to both factions, plus two Horde-specific ones — so it’s worth checking your quest log before you head in, since several of the boss kills and item drops tie directly back to those objectives.
Boss Quick Reference
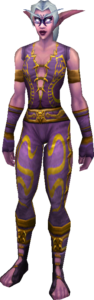

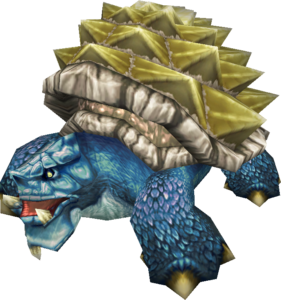

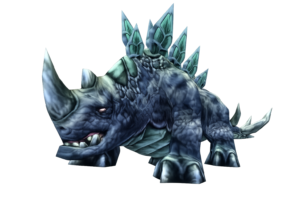

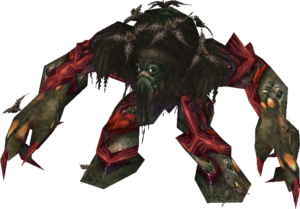

Critical Mechanics
Verdan the Everliving — the AoE root stomp. Verdan periodically stomps, dealing area damage and rooting anyone caught in it. Ranged DPS and healers should stay well outside melee range throughout the fight, not just react once the stomp lands.
Mutanus the Devourer — the escort trigger. After clearing the boss path, return to the entrance and speak to the Disciple of Naralex to begin an escort. Once the escort reaches its destination, a wave of elite cobras spawns, followed by 8-12 non-elite oozes. Those oozes become immune to certain magic schools, frost specifically — don’t assume your usual AoE crowd control, like Frost Nova, will still work on them mid-fight.
Notable Loot


Several bosses drop pieces of the Embrace of the Viper leather set —  Leggings of the Fang,
  Armor of the Fang,
  Gloves of the Fang, Belt of the Fang, and
  Footpads of the Fang are scattered across different kills rather than dropping from one boss, so a full clear is worth it if you’re collecting the set.
Two rare, non-required mobs are also worth knowing about if you encounter them: Boahn, a stealthed elite that spawns outside the instance entrance, and Trigore the Lasher, an optional rare spawn inside. Neither is guaranteed to be up on any given run, but both drop additional gear worth grabbing if you find them.
Quests
Pick these up before you head in — several are given by NPCs hidden well outside the normal path, and grabbing them beforehand saves a second trip back.


Nalpak and Ebru are both notoriously hard to find. Climb the mountain directly behind the skull-shaped dungeon entrance, work your way around to face the oasis, then drop down onto a hidden ledge — you’ll land in an alcove with several Disciples of Naralex NPCs, Nalpak and Ebru among them. It can take a few tries to land in the right spot.
Tips & Tricks
Bring strong crowd control if you have it. Rogue Sap, Mage Polymorph, and Druid Hibernate are all genuinely useful here given how many humanoid and beast-type mobs populate the dungeon, and the layout means you’ll often be pulling more than one group at once if you’re not careful with pathing.
Kill Verdan even though he’s optional. The shortcut behind him — a jump down into the water near the entrance — saves a real walk back through the dungeon. Skipping him means either backtracking the long way or carefully skirting around him if your whole group is high enough level.
Don’t skip Skum out of habit. It’s optional, but it’s also genuinely easy and barely off the main path. There’s little reason to bypass a free, low-effort kill.
Prepare your group before triggering the Mutanus escort. Once it starts, the fight escalates quickly with limited downtime to recover. Make sure everyone is topped on health and mana before speaking to the Disciple of Naralex.
Keep an eye on your quest log before you commit to a full clear. With five neutral quests and two Horde-specific ones tied to this dungeon, it’s worth checking which objectives you actually have before deciding whether to fully clear every optional boss or move efficiently toward the ones tied to your quest progress.
Related Guides
- WoW Classic Dungeon Leveling Guide (15-60) — where Wailing Caverns fits alongside every other Classic dungeon by level
- WoW Classic Leveling Guide (1-60) — for the surrounding Barrens questing route